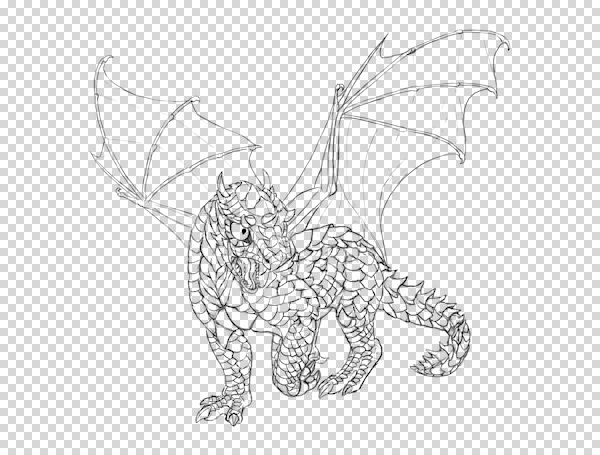
Line art drawings are used as a base for a digital painting or colored drawing. They're built, as the name suggests, from lines, and they should have lines only, without any background.
When you draw the line art digitally, you can use a separate layer for this. But what if you used the Undo command one time too many and Photoshop, according to its weird habit, switched you to the background layer, and you didn't notice it until it was too late? Or what if you have drawn your line art traditionally, on a white sheet of paper, and now you need to remove it without redrawing the lines with a tablet?
In this very short tutorial I'll show you two methods of getting the lines back—a popular one, and a professional one. If you don't have any line art to use at the moment, feel free to download the attachment and follow me.

1. A Quick Method
Place your scan/line art in a new file. Set its Blend Mode to Multiply.

This mode makes every white part of the layer transparent, leaving black intact. So, this is what we wanted, right?

The problem may occur if you wanted to use the line art directly. For example, if you changed the Blend Mode to Overlay, the dark lines would get a darker version of the color below. It works great in cell shading!
However, here we can't change the Blend Mode, because only Multiply makes white transparent. If we used Overlay, the lines would get the darker color, but the white around would "absorb" all the rest of the colors.
This method doesn't really give you line art without a background. It only pretends there's no background, but you're not really allowed to use the lines or the illusion disappears.

2. A Professional Method
There's another way, obviously more complicated than simply selecting an item on the list, but also far more effective. It will give us our dark lines—instead of pretending that there is no background we will remove it for real. Don't let the number of steps scare you—there aren't so many, but I made it as detailed as possible for you!
Step 1
To make sure there is only black and white in the picture, go to Image > Mode > Grayscale. Select Don't Merge and then Discard.
Step 2
Select the whole picture with Control-A. Copy it.

Step 3
Go to the Channels panel. You can find it next to Layers, and if it's not there, simply open it with Window > Channels.

Step 4
Click Create New Channel.

A new "layer" should appear on the list. This is an alpha channel—it knows only two colors: black (transparent) and white (opaque). For now it's black, so there's nothing there.

Step 5
Paste the selection to this layer. Deselect (Control-D).

Step 6
Click Load Channel as Selection.

Step 7
A selection should appear on the picture. As I said before, for an alpha channel white is opaque, and black is transparent. When we loaded the selection, only the opaque parts were selected—the white parts.

If you Invert the selection now (Control-Shift-I), you'll get the opposite selected—only black parts. Only the line art.

Step 8
Select the Gray channel again.

Step 9
Create a New Layer.

Step 10
Fill the selection with black using the Paint Bucket Tool (G).

Step 11
If you deselect (Control-D) now, you'll see that the line art became twice as dark. It's because we've got two sets of lines!

Remove the scan to fix the problem.

Step 12
If you hide the background layer, you'll see only the line art. Just what we wanted, without any pretending!

You can now safely use any Blend Mode on this layer—Multiply doesn't block you anymore. Just don't forget to switch back to Image > Mode > RGB Color.

You can also use all the Blending Options on the lines, for example Gradient Overlay:

What about more traditional-looking sketches, with a lot of grays instead of black? There's no problem about them! Just make sure you've cleaned up the scan first, and then you can use the same trick.

That's All!
As you can see, a piece of line art drawn by accident on a white layer isn't lost to you, and sketches drawn traditionally aren't really bound to their background for eternity. Alpha channels also have other applications—I hope that my explanation will help you find them when you need them!


