1. Editing Scanned Images
Step 1
For starters, if you'd like to make your own watercolor or ink splashes to use in this tutorial, it's a simple process.Grab thick watercolor paper or card stock, a soft paint brush, and a small watercolor set. Dribble, drop, splash, and smear watercolor or ink onto the paper. Wait for it to dry, and scan the paper into your computer.
If your paper is too large to fit your scanner bed, cut the paper down (as I did), since you want to make sure you can get the paper itself to be as white as possible, making your watercolor stand out.
If you'd rather use my watercolor images, download the Watercolor Scans zip file attached to this tutorial.
Open the file labeled Watercolor Scan 3 in Adobe Photoshop. Go to Image > Image Rotation > 90° Clockwise to rotate the file. Hit Auto Tone under Image.

Step 2
Use the Crop Tool (C) to isolate the paper on the left of the image. Grab the Lasso Tool (L) to select your chosen watercolor splatter, and Copy (Control-C) and Paste (Control-V) it into a New Document.
Step 3
Adjust the Levels (Control-L) so the right slider is moved a bit to the left (241) and the middle slider a bit to the right (0.74). You want the watercolor splatter to be darker and the background to be whiter.
Step 4
At this point my watercolor splatter is ready to become a custom brush.
2. Creating Custom Brushes
Step 1
Select your watercolor splash and under Edit hit Define Brush Preset. Give your new brush a name and hit OK.
Step 2
Use the Lasso Tool to select a smaller portion of the watercolor design, and define this as a brush too.
Step 3
Now, use the Brush Tool (B) to select your newly-made brushes in the Brush Presets panel and use them within a new document. Change the Foreground Color, Opacity, or Flow of the brush so each splatter looks different.
3. Using the Watercolor Brushes
Step 1
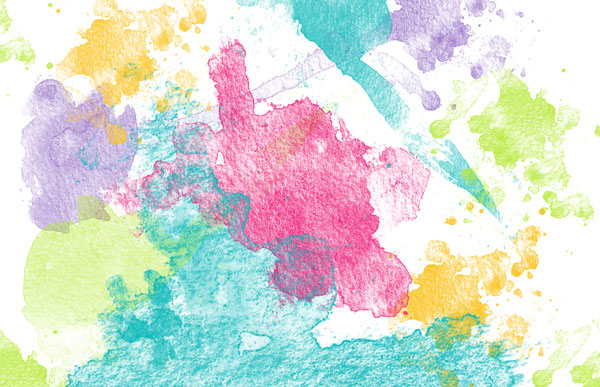
Using the other scanned pieces from the ZIP file attached to this tutorial, create other brushes from the watercolor splatter in each image. Layer instances of each brush onto each other either for more pigmented versions of the brush or to mix colors.When used with a pressure-sensitive tablet, the brush creates a fantastic watercolor-style texture, depending on the settings used in the Brushes panel.

Step 2
Finally, a quick look at how two different shapes create different styles of brushes. The shape on the right creates a large, blocky splatter, which is great for covering large areas. Below the first image, you'll see the shape from the upper left, which is wispier than the first, and creates lighter streaks of color. It's just a tiny example of how each shape in the scanned images attached to this tutorial will change the look of your brushes as you paint with them.
Enjoy Your New Brushes!
Create a splatter background. Paint a digital watercolor piece. Create new textures from the brushes to be used in photo manipulations. The use of your new custom brushes is entirely up to you. Share your creations in the comment section below.For more tutorials on creating custom Photoshop brushes, check out these links:
- Create Your Own Blood Spatter Adobe Photoshop Brush
- Create Your Own Grunge Brushes in Adobe Photoshop


