In this tutorial, I’m going to show you how to edit PDF documents using three free apps: Preview, PDFescape, and Nitro Reader, which run on the Mac, web, and PC respectively. With this arsenal of tools, you'll be able to edit PDFs anywhere.
Editing PDFs Using PDFescape on the Web
PDFescape is a web app that you can use for free from any modern web browser as long as your PDF is less than 10MB large and 100 pages long. If your PDF goes above this limit, you can sign up for a PDFescape Premium account which, aside from removing these limits, gives you additional storage and removes all ads.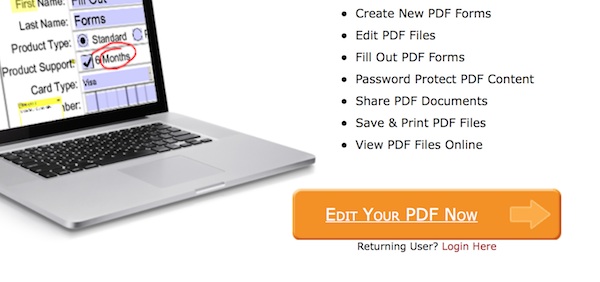
Now, look towards the center of the screen. From here, you’ll see four options: Create New PDF Document, Upload a PDF To PDFescape, Load A PDF from The Internet, and Load PDF Previously Opened. For this tutorial, select Upload a PDF To PDFescape. You’ll now be asked to upload a PDF to the website.
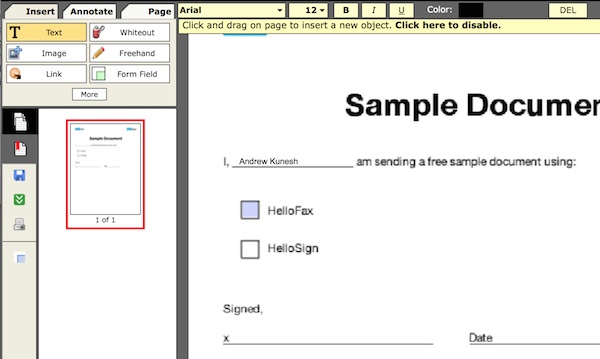
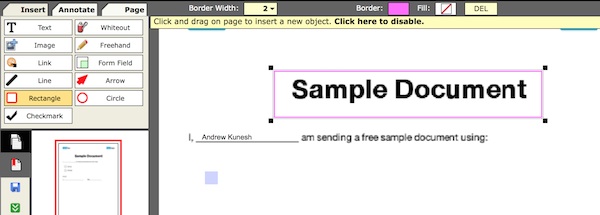
Once your PDF is uploaded, you’ll be brought to PDFescape’s editor. If you look to the left-hand side of the page, you’ll notice a toolbar that shows all PDFescape’s three editing categories: insert, annotate, and page. We’ll start with insert.
Adding Items to your PDF
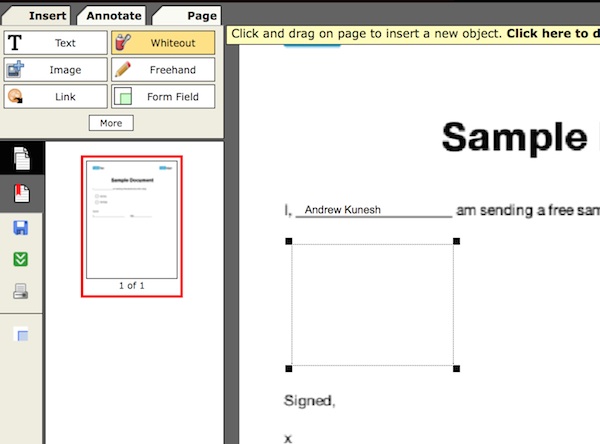
Adding images to your document is also a breeze using PDFescape. To do this, click the images button and upload your file. Then, click on your document to add the photo. If you need to move your photo around the document, you can do so by clicking-and-dragging the photo around the document.
Annotation Tools
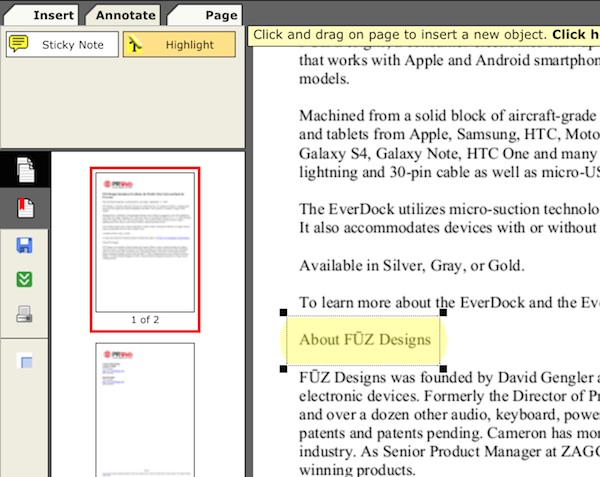
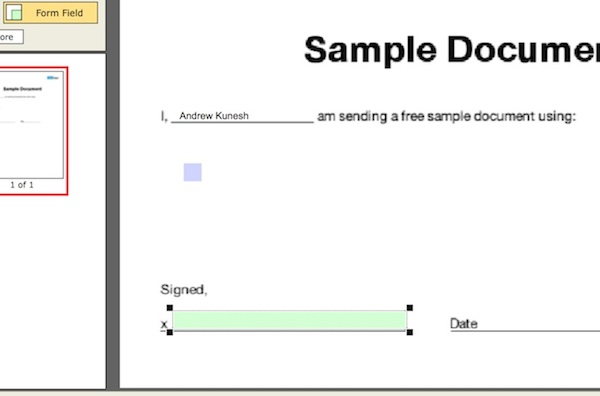
If you click on the sticky note button, you can click anywhere on the document to add a “sticky note” to it. When added, you can add quick notes within the note for reference. When you’re done typing, click the minus button to minimize the note. To reopen a note, click on the yellow textbox button to view the text.
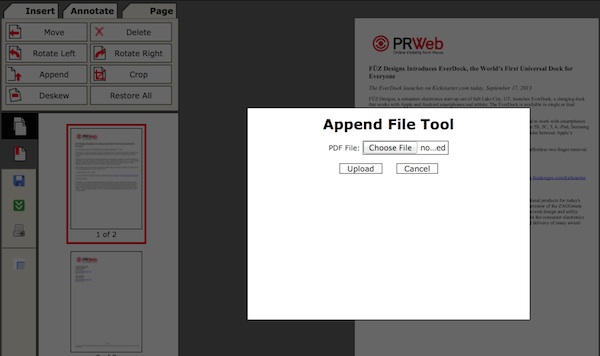
PDFescape’s ‘Page’ Options
Finally, click into the Page tab if you need to make any changes to the page’s orientation. Once in this window, you can use the move option to move your current page to another page number. For instance, if you want to move the first page of your document to the third, click on the first page of your document, click on the Move button, and choose the third page from the Move menu. Your page will now be changed.If you need to rotate your document, click the rotate right or rotate left buttons to do so. You can click this button multiple times to continue the rotation.
You can crop your pages using the Crop button. Once clicked, click-and-drag the area you’d like to keep within the document. Whatever isn’t covered by this box will be deleted.
If you scanned in a document incorrectly and want to realign it, click on the Deskew button and draw a line across the page in the angle that you’d like your page to be realigned. It will be realigned automatically.
Now that you’ve made changes to your PDF, download it by clicking on the green download button located towards the bottom left-hand corner of the page.
Editing PDFs Using Preview on the Mac
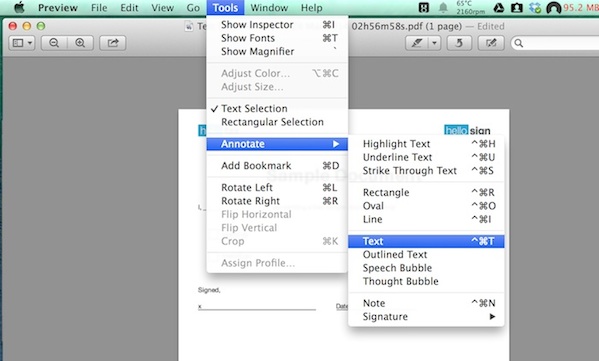
If you’re a Mac user, chances are you’ve used Preview at some point in the past. It's the default image and PDF viewer on your Mac, and also includes a number of little-known feature to help you edit those files as well.Just open your PDF file in Preview, and then you can read through your document or fill out forms just as you would in Adobe Reader. If you’d like to annotate your PDF using text, arrows, or boxes, open the Tools menu, then select Annotate and pick the option you want. Alternately, click the edit icon in the toolbar and choose the option you need from the extra toolbar row that'll appear.
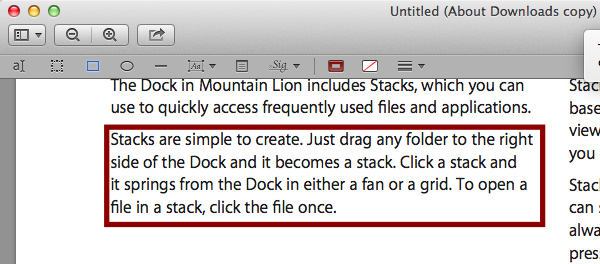
Additionally, you can strike out, underline, and highlight text in Preview as well by clicking on their respective buttons. To do any of these options, simply highlight the text you’d like to modify to add the selected modification.
There's a lot more that Preview can do that we've already covered in our Mac tutorials. You can use it to combine PDF files, digitally sign documents using your real signature from a piece of paper, and of course can also use it to edit your images. It's one of the best built-in apps on the Mac.
Editing PDFs Using Nitro Reader on Windows
Nitro Reader is my personal favorite PDF editor for Windows. It's free, and includes a number of basic editing features. When you open a PDF form in NitroPDF, all of the pre-made text forms and checkboxes will be highlighted with a blue tint. To add text or check a checkbox, just click on this blue tinted area to start editing.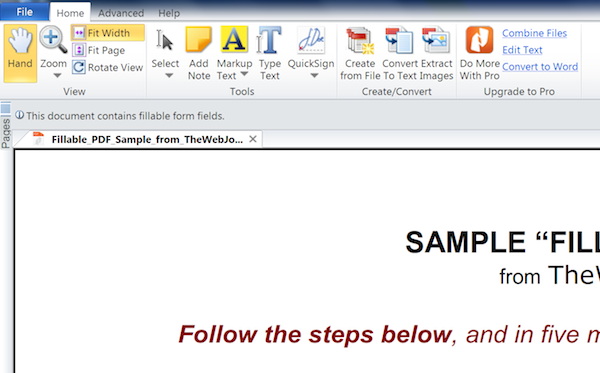
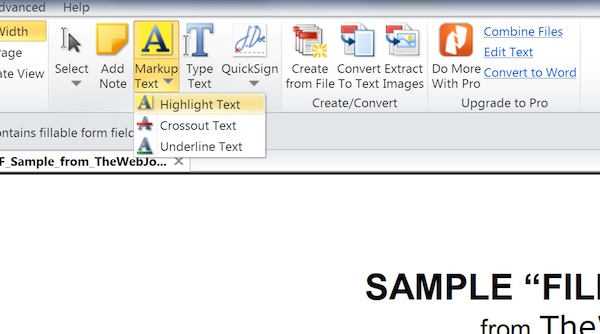
If you’d like to add text to part of a document that doesn’t have a textbox already made, look towards the top of the window and click on the button labeled Type Text. You can then click anywhere within the document and start typing. If you’d like to customize your font, look towards the top of the window for the font options. When you’re done typing, click on the Home tab located towards the upper left-hand corner of the screen.
You Can Now Edit PDFs Anywhere
And that’s it! You can now edit PDF files on any platform, in addition to simply reading and filling out PDF forms. PDFescape is the most exciting of this set of apps, since it works anywhere and includes so many features for free. The next time you need to edit a PDF, be sure to give it a try.If you have a favorite PDF editing tool we didn't include, or need help in editing your PDF documents, be sure to let us know in the comments below.


.webp)

